


 First Witch "When shall we meet again? In thunder,lightning,or in rain?"
Second Witch "When the hurlyburly's done,when the battle's lost and won".
William Shakespeare :Macbeth

Crystal Ball Surrounded by skulls ,Hanging cauldrons, creepy cloth movie shelf.Severed hand with red eye rat snacking (ewwww) That is the 3 part to this Halloween diy tut.First is the Crystal Skull ball .It took some thinking but I finally got it to look like I wanted. But before I start I want to remind you that electric lights can get very hot and you should always check and make sure that they are not getting so hot that the wires are starting to melt .NEVER leave these lights on unattended .Better yet don't leave them on all night at all.Mine got hot and I just happened to be moving the ball when I noticed how hot the glob was getting So in this tut I will be advising you to get a battery light (battery tee light will do )
That being said if you chose to use electric lights you are cautioned to be careful and I take no responsibility for any damages (use battery operated!!!!!).
Ok on to the tut.
supplies
a light glob ( a glass ball that goes over your light bulb,this can be any kind you have on hand .I just happened to have some in closet:)
 |
| light cover glob |


1 buck)
Decay cloth or web ( anything to cover stand or table that you are setting ball on )
2 Bowls that will use to set the ball in (can leave off if setting on a table)
 |
| Bowls that are being used for stand this is a roll around snack daisy tray my husband's mother had and handed down to me .It works perfect for this! |
First take the light and set it in the bowl ,placing the glob over it..Now add all those little bits of creepy cloth you have from all that cutting you did on the fireplace mantel .This will help the skulls stay in place if you use the bowl .(If not using the bowl you can scatter them around and then put skulls around the glob.)Next place the skulls around the globe ,making them evenly spaced apart (If you want to make this a reusable Halloween prop you can glue them around)
 |
| Pretend these are battery tea lights caution if using electric light they get to hot and can cause a fire ! Use BATTERY TEE LIGHTS PLEASE! |
 | ||
| creepy cloth and skulls |
 |
| place skulls around |
If you want you can now add webs ,leaves ,even chains to add to this prop.Or even a richly colorful gypsy scarf with some gold bangles and/or large gaudy rings to finish off the look (LOVING IT!!!!)
 |
| unlighted Crystal skull ball |
 |
| after light out and globs lit |
supplies
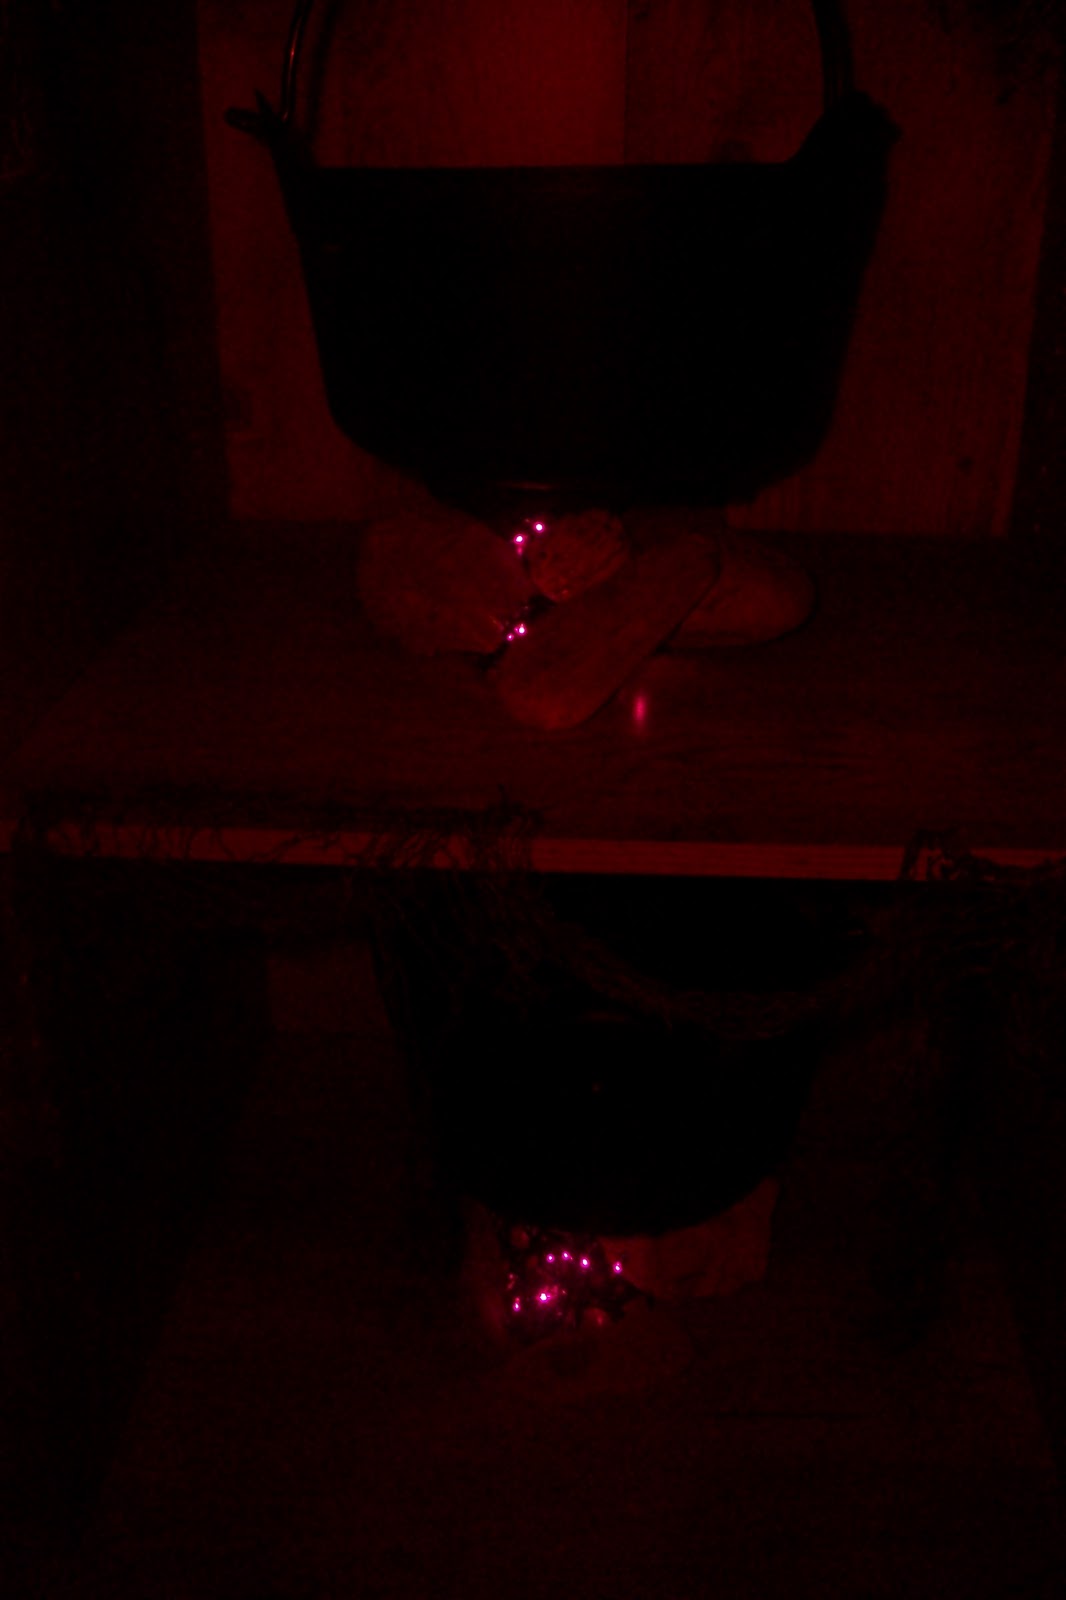
 2 plastic cauldrons (small 1 each buck at dollar store)
Purple Halloween lights<Battery tea lights (again caution to not let them get to hot or use battery tea lights)
2 screw hooks ( any hardware store or local store ,I have had them for years so coast is unknown)
Drill (optional,you can screw them in by hand but a drill with a small bit makes it easier)
Rocks (any kind, used to hide lights)
Firstly you don't have to hang them you can set up on table as well.I just happen to have a old TV center that has nothing on it and this fit perfectly.

 Next hang the pot to see if is centered (measure beforehand if you want to)


 Take you light(battery tea lights ,pretend that is what I am using .It is safer than curling up the electric lights .They will get to hot .Not responsible for any damages)
Arrange the stones around the light making it look like a blinking fire .
You could add Halloween candy to the pots ,like gummy toes ,eyeballs things like that . simple and sweet.

Now we have our chained severed arm that a rat is 'snacking on'.
supplies
plastic chain (1 buck DollarTree)
Severed arm(2 bucks at Dollarstore)
Red eye Rat (1 buck atDollarTree)
creepy cloth (OPTIONAL)

Take the chain and wrap it around the wrist .Then attach this to a handle
(or chair leg .let your imagination run ) Place hand on shelf(or floor)Then add your creepy cloth.Hang it or lay it by the hand .Play with this set up till you get the setting you like.

Add your rat next to the hand making it look like he is taste testing it for supper.
Next the creepy movie shelf
supplies
creepy cloth (1 buck at Dollar Tree)
Tacks
plastic bat (1 buck at DollarTree)
There you have it Part 3 is complete!Next Part 4 Skull Tree and The Voodoo/Mad lab
You are never to old to enjoy Halloween!
Drill a small hole into the underside top of the shelf(being careful not to drill very far or you can come out the other side Take a hook screw and screw it into the top of the shelf .Keeping it centered as best you can.


 |
| Hanging pots under shelf |


 Take you light(battery tea lights ,pretend that is what I am using .It is safer than curling up the electric lights .They will get to hot .Not responsible for any damages)
Arrange the stones around the light making it look like a blinking fire .
You could add Halloween candy to the pots ,like gummy toes ,eyeballs things like that . simple and sweet.
Now we have our chained severed arm that a rat is 'snacking on'.
supplies
plastic chain (1 buck DollarTree)
Severed arm(2 bucks at Dollarstore)
Red eye Rat (1 buck atDollarTree)
creepy cloth (OPTIONAL)

Take the chain and wrap it around the wrist .Then attach this to a handle
(or chair leg .let your imagination run ) Place hand on shelf(or floor)Then add your creepy cloth.Hang it or lay it by the hand .Play with this set up till you get the setting you like.

Add your rat next to the hand making it look like he is taste testing it for supper.
Next the creepy movie shelf
supplies
creepy cloth (1 buck at Dollar Tree)
Tacks
plastic bat (1 buck at DollarTree)
 The creepy movie shelf is creepy cloth tacked up . You cut it at angle from the bottom to give it that tore look and cut holes to make it look like moth have eaten some for supper.I added a red eye bat that suctions to glass and you have a scary movie shelf!(sorry couldn't help myself) |
There you have it Part 3 is complete!Next Part 4 Skull Tree and The Voodoo/Mad lab
 |
| Complete shelf |
You are never to old to enjoy Halloween!


