Showing posts with label homemade. Show all posts

Monday, September 10, 2012

HOW TO HAUNT YOUR HOUSE BOOKS 1-3


3dbook1b
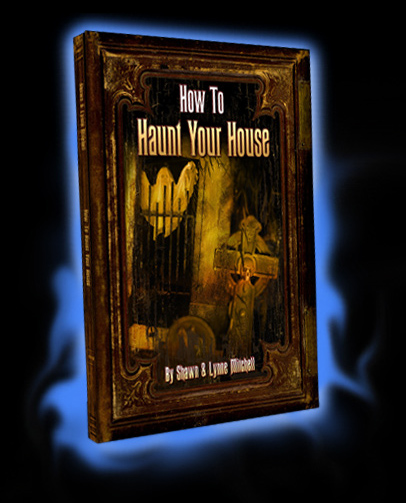
HOWTO HAUNT YOUR HOUSE BOOK 1

3dbook2
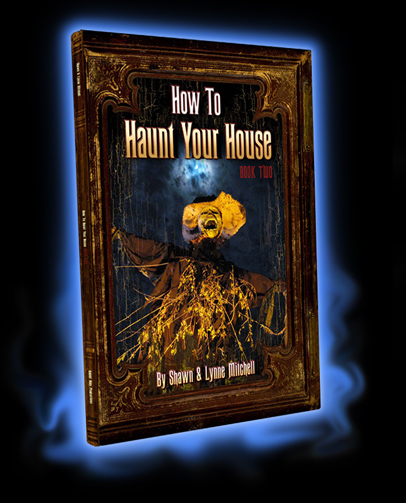
HOWTO HAUNT YOUR HOUSE BOOK 2
3dbook3
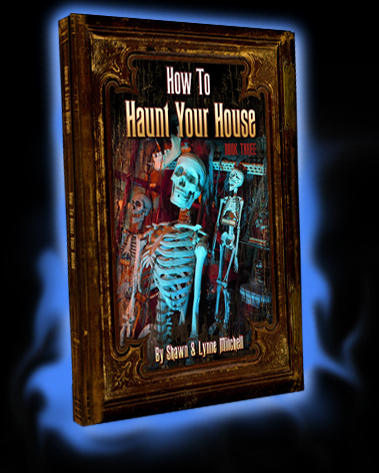
HOWTO HAUNT YOUR HOUSE BOOK 3


Halloween is around the corner, green is turning into gold, leaves are falling with the breeze and the grass crunching under your feet.  What a wonderful magical time is Halloween.  This is without a doubt my favorite time of year.  Anything can happen on Halloween.  This one night a year magic fills the air, laughter, joy and dreams have no boundaries.  The veil is thin between our world and the other.  Witch’s ghost and ghouls will rule the night.  And it’s time to make them welcome.  And what better way than with the help of Shawn Mitchell and Lynne Mitchell.  Authors of how to Haunt your House, book 1-3.
 I have been lusting after these books for a very long time.  As I am on a fixed income and have been unable to purchase these books.  But thanks to my best friend, Valerey, I have been able to buy all three.  Last year she gave me her kindle after she bought the new kindle fire.  This enabled me to buy not one but all three of these books on my kindle for $9.00 each.  My best friend always has the coolest gadgets and is always sweet enough to give me the one she replaces.  RE purpose and gifting at its best.  And if you read my blog you know that these are the two things I love most.only going to use theme for these projects you can get away with using the more inexpensive tolls.  Again trust your own judgment and weigh you pros and cons.
Double click images below to get larger image to see prices
SOLDERING IRON AND STATIONS

FOAM CUTTERS AND WOOD BURNER


You can spend as much or as little as you wish, that is what is so great about their books.  You get to decide how much you spend.
Some of the projects you will find in these books are very simple and easy to do.  Some examples are using dryer lint and paint to create moss that you can use to decorate tombstones doors and so for.  Detailed techniques on how to cut Styrofoam into various props and how to paint those props for realistic a look.  The books are filled very detailed images so that you can see how to do something.  As I a visual learner this is great for me and it helps me to understand exactly what their saying and how to do it.
One of my favorite projects in the book is sand casting.  As I model with clay I often find myself wanting or needing a mold to create a certain thing.  Mold kits are very expansive and the numbers of molds you can make from a kit are very limited.  Making molds from clay itself does not always turn out very well.  The clay molds are not flexible and I found myself having to re sculpt the thing I was molding to begin with.  In their first book they show you how to do so and molding or stand casting.  I love the way they used hot glue to create the fence tops.  By using sand and a fence pole topper they were able to create a single mold to make as many tops as they need.  The best part is that they are able to reuse the sand for other molds.  A great way to save money and simple enough that everyone has it.  They even show you how to make a flexible hand using this mold technique, hot glue and wire.
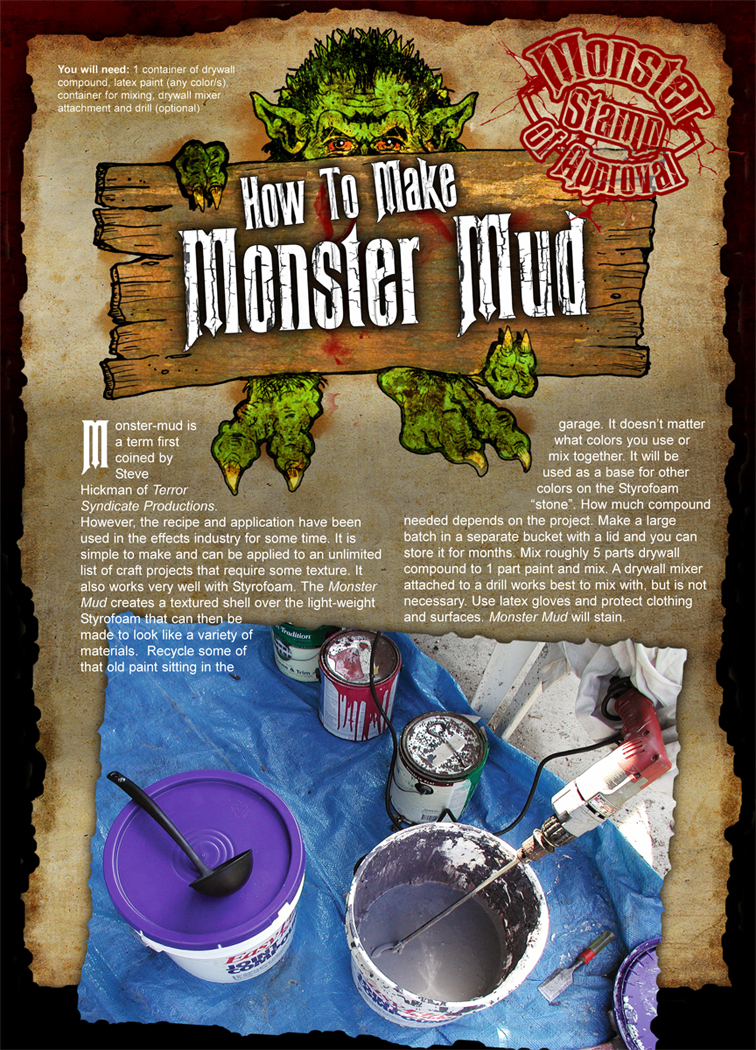
The famous monster mud is also included in this book.
monster_mud_page
PROPERTY OF HOW TO HAUNT YOUR HOUSE 

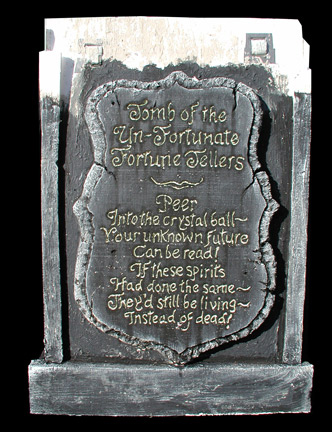
They show you how to create and use this wonderful stuff.  Monster mud is great for creating a concrete or decaying effect.  They show you how to use monster mud to make a Scarecrow and other horrifying things.
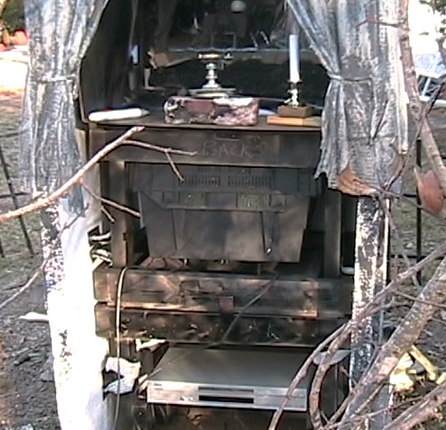
Their visual effects section shows you how to use a TV for a ghost affect and how to set it up so that you can scare your guests with your ghostly images.  From lighting to fog that last.  PVC pipe fence  post, statues, poison apples, brain bubblers, Halloween tree, large tombstone cover, bride’s tomb, spooky chandelier, witch’s pantry, bubbling cauldron, cemetery, graves entrance and even a vampire hunter’s kit. These three books offer a wide variety of Halloween fun.  From the simplest to the more elaborate, these books show you all and more.  They are well worth the money and a great addition to any Halloween fends spooky collection.
You can find these books at Amazon .com.  Purchase these as tangible books or in kindle format.  If you do not have a kindle device no need to worry, Amazon offers a free application called kindle for PC.  Just download this free application log in at Amazon by the digital format and select it to be downloaded to the kindle for PC application.  After you purchase you can download these books and read them right from your computer.  This is how I downloaded these books and I love that they are in color right on my laptop
PROPERTY OF HOW TO HAUNT YOUR HOUSE


The authors of these books also have a web site with additional tips and techniques at 
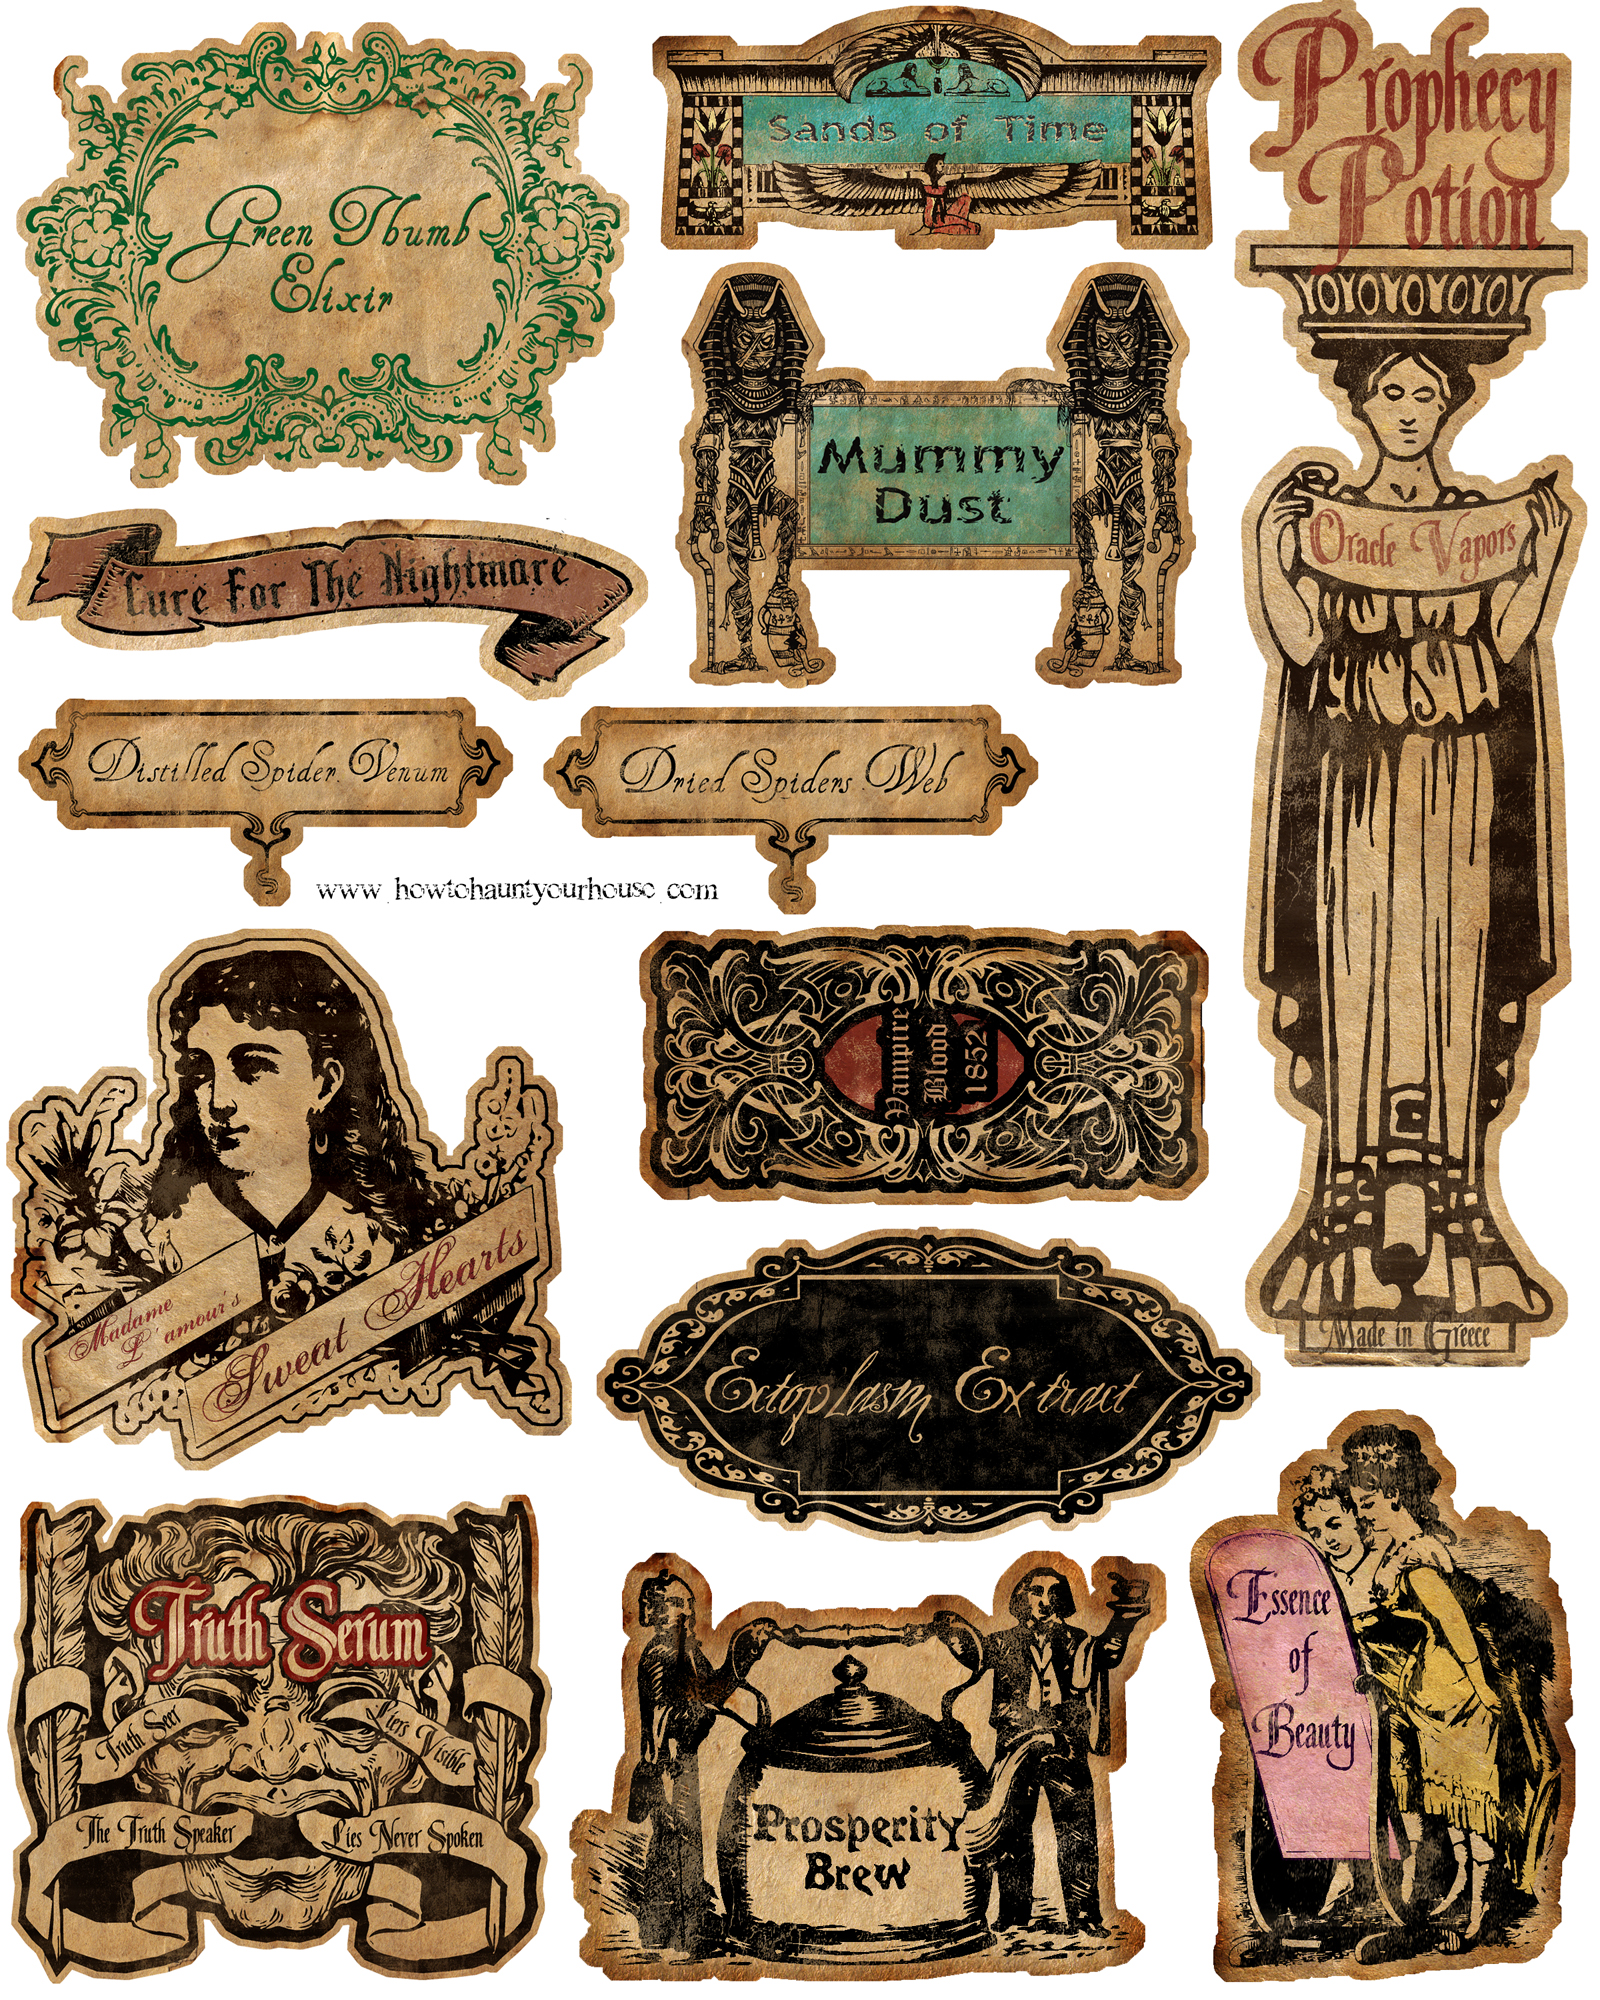
www.howtohauntyourhouse.com.Their site offers hack lab where you can find how to turn store bought props into one of the kind creations or how to build your own.  The library, where you can buy their books tee shirts and other things.  You can also check out from the crypt and see their images and videos of their past Halloween events.  They also have a YouTube channel that you can visit and see the action live.  Printable patterns are also offered under their download section
fortunetellerbacktv
HACK LAB 
PROPERTY OF HOW TO HAUNT YOUR HOUSE
fortune_front
HACK LAB
PROPERTY OF HOW TO HAUNT YOUR HOUSE 
fortuneteller_scene2
HACK LAB
PROPERTY OF HOW TO HAUNT YOUR HOUSE


DOWNLOADS
 PROPERTY OF HOW TO HAUNT YOUR HOUSE

Check out these two creative people who have so much talent it turns me green with envy.


You’re never too young to enjoy Halloween!

Tuesday, October 25, 2011

Halloween Decorating Tutorials Part 3

First Witch "When shall we meet again? In thunder,lightning,or in rain?"
Second Witch "When the hurlyburly's done,when the battle's lost and won".
William Shakespeare :Macbeth

Crystal Ball Surrounded by skulls ,Hanging cauldrons, creepy cloth  movie shelf.Severed hand with red eye rat snacking (ewwww) That is the 3 part to this Halloween diy tut.First is the Crystal Skull ball .It took some thinking but I finally got it to look like I wanted. But before I start I want to remind you that electric lights can get very hot and you should always check and make sure that they are not getting so hot that the wires are starting to melt .NEVER leave these lights on  unattended .Better yet don't leave them on all night at all.Mine got hot and I just happened to be moving the ball when I noticed how hot the glob was getting So in this tut I will be advising you to get a battery  light (battery tee light will do )

That being said if you chose to use electric lights you are cautioned to be careful and I take no responsibility for any damages (use battery operated!!!!!).
Ok on to the tut.
supplies
a light glob ( a glass ball that goes over your light bulb,this can be any kind you have on hand .I just happened to have some in closet:)
light cover glob
Battery tee light ( found in most stores,Wal Mart, Lowe's)

 Foam skulls or plastic(DollarTree for 
1 buck)


Decay cloth or web ( anything to cover stand or table that you are setting  ball on )
2 Bowls that will use to set the ball in (can leave off if setting on a table)

Bowls that are being used for stand
this is a roll around snack daisy tray
my husband's mother had and handed
down to me .It works perfect for this!
First take the light and set it in the bowl ,placing the glob over it..Now add all those little bits of creepy cloth you have from all that cutting you did on the fireplace mantel .This will help the skulls stay in place if you use the bowl .(If not using the bowl you can scatter them around and  then put skulls around the glob.)Next place the skulls around the globe ,making them evenly spaced apart (If you want to make this a  reusable Halloween prop you can glue them around) 
Pretend these are  battery tea lights
caution if using electric light
they get to hot and can cause a fire ! Use BATTERY TEE LIGHTS PLEASE!
My crystal ball stand
ignore the dust
it adds creepy feel
that is why I didn't dust
yep that's it^^
creepy cloth and skulls


place skulls around
If you want you can now add webs ,leaves ,even chains to add to this prop.Or even a richly colorful gypsy scarf with some gold bangles and/or large gaudy rings to finish off the look (LOVING IT!!!!)


unlighted Crystal skull ball
after light out and  globs lit 
now that you have your crystal ball set up lets move on to the miniature cauldrons.
supplies
2 plastic cauldrons (small 1 each buck at dollar store)
Purple Halloween lights<Battery tea lights (again caution to not let them get to hot  or use  battery tea lights)
2 screw hooks ( any hardware store or local store ,I have had them for years so coast is unknown)
Drill (optional,you can screw them in by hand but a drill with a small bit makes it easier)
Rocks (any kind, used to hide lights)
Firstly you don't have to hang them you can set up on table as well.I just happen to have a old TV center that has nothing on it and this fit perfectly.
Drill a small hole into the underside top of the shelf(being careful not to drill very far or you can come out the other side  Take a hook screw and screw it into the top of the shelf .Keeping it centered as  best you can. 


 Next hang the pot to see if is centered (measure beforehand if you want to)
Hanging pots under shelf

 Take you light(battery tea lights ,pretend that is  what I am using .It is safer than curling up the electric lights .They will get to hot .Not responsible for any damages)
Arrange the stones around the light making it look like a blinking  fire .
You could add Halloween candy to the pots ,like gummy toes ,eyeballs things like that . simple and sweet.


Now  we have our chained severed arm that a rat is 'snacking on'.
supplies 
plastic chain (1 buck DollarTree)
Severed arm(2 bucks at Dollarstore)
Red eye Rat (1 buck atDollarTree)
creepy cloth (OPTIONAL)


Take the chain and wrap it around the wrist .Then attach this to a handle
 (or chair leg .let your imagination run ) Place hand on shelf(or floor)Then add your creepy cloth.Hang it or lay it by the hand .Play with this set up till you get the setting you like.


 Add your rat next to the hand  making it look like he is taste testing it for supper. 


Next the creepy movie shelf
supplies 
creepy cloth (1 buck at Dollar Tree)
Tacks 
plastic bat (1 buck at DollarTree)

 The creepy movie shelf is creepy cloth tacked up .
You cut it at angle from the bottom
 to give it that tore look and cut holes to make it look like moth have eaten some for supper.I added a red eye bat that suctions to glass and you have a scary movie shelf!(sorry couldn't help myself)


 There you have it Part 3 is complete!Next Part 4 Skull Tree and The Voodoo/Mad lab

Complete shelf


 You are never to old to enjoy Halloween!


Monday, October 24, 2011

Halloween Decorating Tutorials Part 2

"Double, double toil and trouble; fire burn and cauldron bubble."
William Shakespeare 


WayWay and Valie on fireplace 
Part 2
Now that you have the cauldron we will want to make the rest of the mantel look like it belongs.If you have no mantel ,you can still do this on a shelf .

Supplies 
decaying cloth/old cloth(dollar store 1 buck a package ,goes along way.I reuse mine over and over)

Decaying cloth 

Skull dolls or something creepy(1 buck at dollartree,again had for years)
anything you want to add here is up to you  as you can see I chose to use little on the shelves and the dolls were tired up to look like prisoners!(so mean!!!)
Fake link able chain(1buck dollar store)
fake dismembered limbs (4 bucks /reusable for years)
Tacks or something to hold the cloth  wall or mantel
scissors to cut cloth
Take the cloth and spread it out,placing it on the mantel in the way you want it to look .Again this is going to be more to your taste than what I tell you. Drap it and tack the cloth as you go to give it a old falling apart look. Next take your scissors and cut the cloth so it looks ragged .Cutting at an angle gives it a more realistic look.Decide how many  cuts you want ,but make sure not to cut it it all the way.Leave it together where you have it tacked to mantel.You can allso cut holes in it to make it look like moth have been eating the fibers.now slightly take the parts you cut an gently pull so it has strings hanging.Not to much!Or you can unravel allot of it!(been there done that!!) 
Cut cloth 
 Now do this for the rest of your mantle and if you have  (like I do) top rocks above the mantel just hang cloth in same way .
  
hanging cut cloth
let it hang down the fireplace sides 
Take your chain and wrap it around the leg. Here I hung it on the glass part of my fireplace and clipped the chain to the handle .Then let some chain pool beside it  for added effect(disregard the bat .lol)
chains and severed leg
Add your figures or other decorations to the mantel.Here I put  WayWay and Valie tired up and posed them . Next I added a red eye rat I have had for years.Some skull and graves figures I picked up at our local DollarTree went up on the mantel as well/ I opted not to use my spider web this year but you can add it to the screen and give it more OLD feel .Creativity is one of the greatest  thing about Halloween . The images below show you the things I added this year.You can click on the images to get a bigger view.
Valie bond


ghost

ghos

poor WayWay!!
chain and skull ghost

That is it for part 2 next  part 3 crystal ball and mini burning cauldrons!!
You are never to old to enjoy Halloween!! 

Halloween Decorating Tutorials Part 1

"Eye of newt, and toe of frog, Wool of bat, and tongue of dog, Adder's fork, and blind-worm's sting, Lizard's leg, and owlet's wing, For a charm of powerful trouble, Like a hell-broth boil and bubble."
William Shakespeare 

Handmade paper clay tree with skulls
A RAY creation
Finally !!Halloween is here! Here are a few creative ways to decorate the inside of your home for  a small price.Best part is you can store it and reuse it again and again.Lets get started!


cauldron and light
I have a fireplace and mantel with rock half way up my wall.This gives me a great place to create a spooky looking pot over a fire with skulls and bones in the ashes.Even if you don't have a fireplace you can still creat this  kind of look. Setting it up in a corner of the room and be creative  with some small rocks  and such . Use the imagination .


Creepy Pot
supplies 
plastic cauldron (I got mine  1 yrs ago at our local dollar store for 2 bucks)
 Battery powered light (I got safety light that went inside a pumpkin)
Battery size you need for your light
rocks(your choice)
small skeleton bones and skulls (prepackaged 2 bucks for 4 at dollar store )
ashes (if you have any ,if not sand will be OK )


Take a small amount of ash or sand and place in the center of fireplace (or where you are building a fake fireplace). Next arrange your light(after you put batteries in !!) in the center of the ash .Light dusk or arrange the ash to cover the light but making sure you can see some of the light after you place the pot on.

place the light in center and arrange
Now arrange your rocks so that the pot will be lifted up slightly so you can see the light flickering under it.Next place the pot on the rock and arrange how you want it .
set pot on top of light

Take your skulls and bones and break them up so you can scatter them in the ash.At this point it is all up to how you want it to look .Take your time and place things ,adding a little bit of ash to dust over the bones giving it that "been there a long time "look .
take skulls apart to place under pot
Below are images of my pot after i got it to look like I wanted it CREEPY!!
 
add skulls

skills and bones placement

 This is part one of the Halloween Decorating. I will add the following parts today ,but due to the long post I thought it would be easier to separate the parts!
Part 2 coming up! 
Your never to old to enjoy Halloween!!